So, you’re ready to launch your first website—exciting! But before you can build your online presence, you need a domain name (your website’s address, like yourbusiness.com).
Buying a domain might seem intimidating, but it’s actually quick and easy. In this guide, I’ll walk you through the domain name registration process step by step, recommend the best domain registrars for beginners, and share tips to snag the perfect name without breaking the bank.
Let’s get started!
Step 1: Choose the Perfect Domain Name
Your domain name is your online identity, so pick wisely! Here’s how:
✅ Keep it short & memorable – Avoid complex spellings.
✅ Use keywords if possible – Helps with SEO (e.g., bestcoffeebeans.com).
✅ Go for a .com if you can—it’s the most recognizable and trusted domain extension out there. People automatically type ‘.com’ when they think of a website, so it just makes life easier for you (and your visitors!).
✅ Avoid trademarks – You don’t want legal trouble!
💡 Pro Tip: Use a domain name generator (like Namecheap’s free tool) if you’re stuck.

Step 2: Check Domain Availability
Once you’ve brainstormed a name, check if it’s available using a domain registrar (a company that sells domains). Some great options:
Namecheap – Affordable, user-friendly, and includes free privacy protection.
Hostinger – Budget-friendly with excellent customer support.
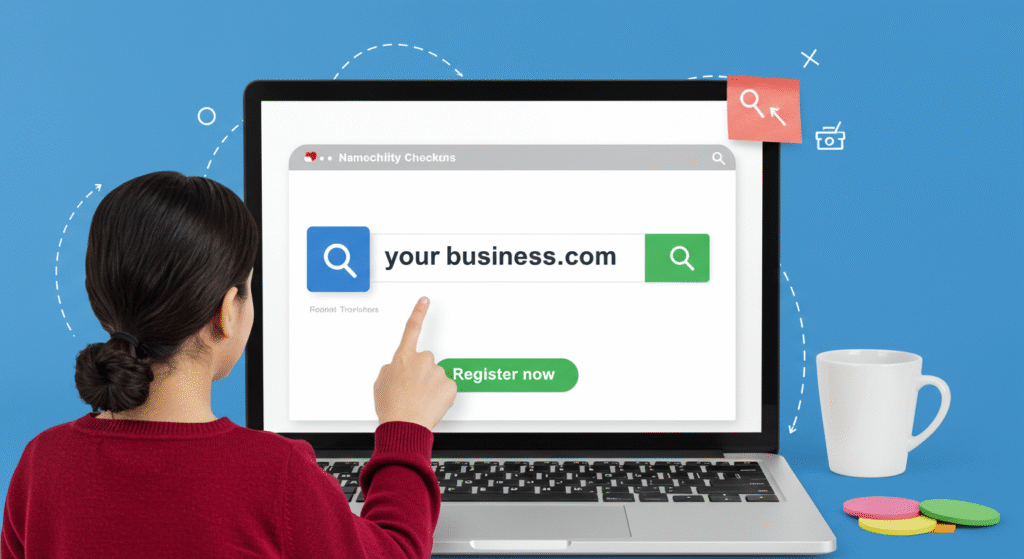
Simply type your desired name into their search bar, and they’ll show available options.

Step 3: Select a Reliable Domain Registrar
Not all registrars are created equal. For first-time website owners, I recommend:
Namecheap
✔ Low-cost domains (often with discounts)
✔ Free WHOIS privacy (hides your personal info)
✔ Easy-to-use dashboard
👉 Check Namecheap’s latest deals here
Hostinger
✔ Extremely affordable pricing
✔ 24/7 live chat support
✔ Bundled hosting options
👉 Explore Hostinger’s domain options here
Both are fantastic for beginners, so pick based on your budget and needs!
Step 4: Register Your Domain Name
Found your perfect domain? Great! Now:
Add to cart and proceed to checkout.
Choose registration length (1-10 years; longer saves money).
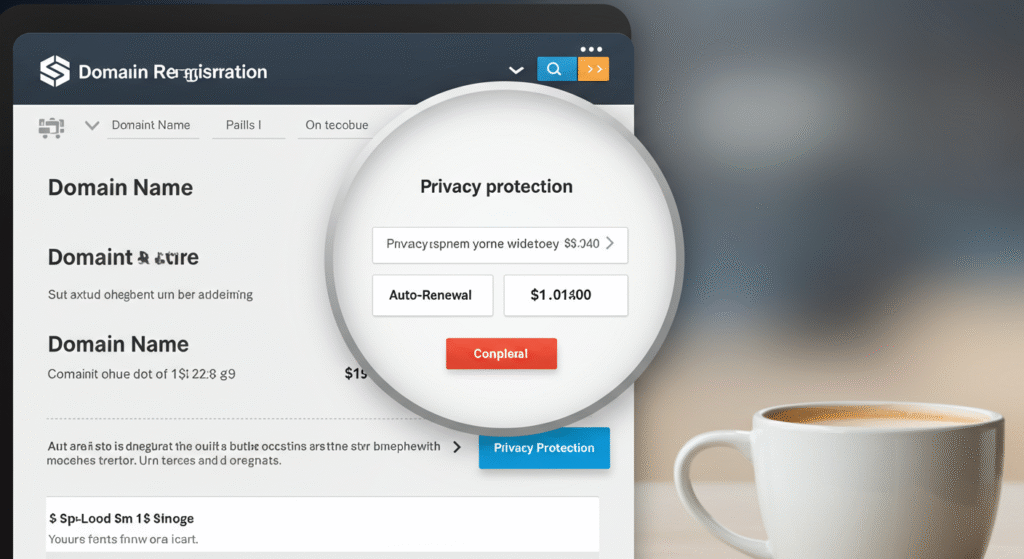
Opt for domain privacy (keeps your info private).
Complete payment—and congrats, it’s yours!
💡 Watch out for upsells (like hosting or email). You can add those later if needed.
Step 5: Connect Your Domain to a Website
Now that you own the domain, you’ll need:
Web hosting (where your site files live)
A website builder (like WordPress, Wix, or Hostinger’s drag-and-drop tool)
Many registrars (including Namecheap & Hostinger) offer bundled hosting, making setup seamless.
Bonus Tips for First-Time Buyers
🔹 Grab similar extensions (.net, .org) if you can – it keeps copycats away and protects your brand!
🔹 Turn on auto-renewal – Trust me, you don’t want that panic when your domain expires because you forgot.
🔹 Use a reputable registrar—avoid shady sellers with hidden fees.
Final Thoughts
Congratulations – you’re about to take that exciting first leap into building your website! Snagging your perfect domain name is like claiming your little piece of internet real estate, and honestly, it’s one of the most thrilling parts of the whole process. With the right registrar (like Namecheap or Hostinger), the process is smooth, affordable, and beginner-friendly.
Ready to claim your domain?
👉 Get started with Namecheap
👉 Check Hostinger’s domain deals
Affiliate Disclosure: These are affiliate links—if you use them, I may earn a small commission (at no extra cost to you). Thanks for supporting my work! I only recommend services I trust.
Got questions? Drop them in the comments—I would love to help! 🚀
